When I was thinking of a theme for my wedding, it was an obvious choice – rustic. I’m pretty obsessed with old looking wood, iron, and simpler times. Being that we were getting married on a horse farm, it just seemed to all fit. (On top of the rustic, there was also a “love bird” thing going on, as well.)
I tried to save on all things possible…even though weddings are pricey, no matter what route you take. I handmade a lot of items to keep the cost down. One major part was decorations. In this post, are a few of the articles we crafted.
We needed a lot of signs for various things and we wanted everything to fit with the rustic theme. Reclaimed lumber costs an arm and a leg, so we bought some brand new wood and decided to make it look old. For the small signs, we used the width of one piece of wood; the larger one, we put 4 pieces together to create one big sign (braced on the backside). Keep in mind, this was before we had any tools other than a drill and a handsaw, and no backyard or garage in which to work. This all had to be done on our tiny screened-in porch at our old townhouse, as you can see from the pictures.

Back of the larger sign with bracing
We purchased some tinted stain from Lowe’s: Olympic’s Weathered Barn Wood. It is a gray stain made for making wood look old. We beat the wood with chains, hammers, and anything else we could find that would slightly damage it. After that, we applied the stain. After one coat of stain, I messily brushed black acrylic paint onto the sign (just stick the tip of your brush slightly in the paint – do not submerge it) and wiped it off immediately with a paper towel. This created more dimensions in the weathered look.

Applying the stain

Weathering complete (large sign)
Below are pictures of the finished products. It was pretty inexpensive and created a nice cohesive element to the event.

Smaller signs for the backs of our chairs

Some of the parking signs and sign for the road
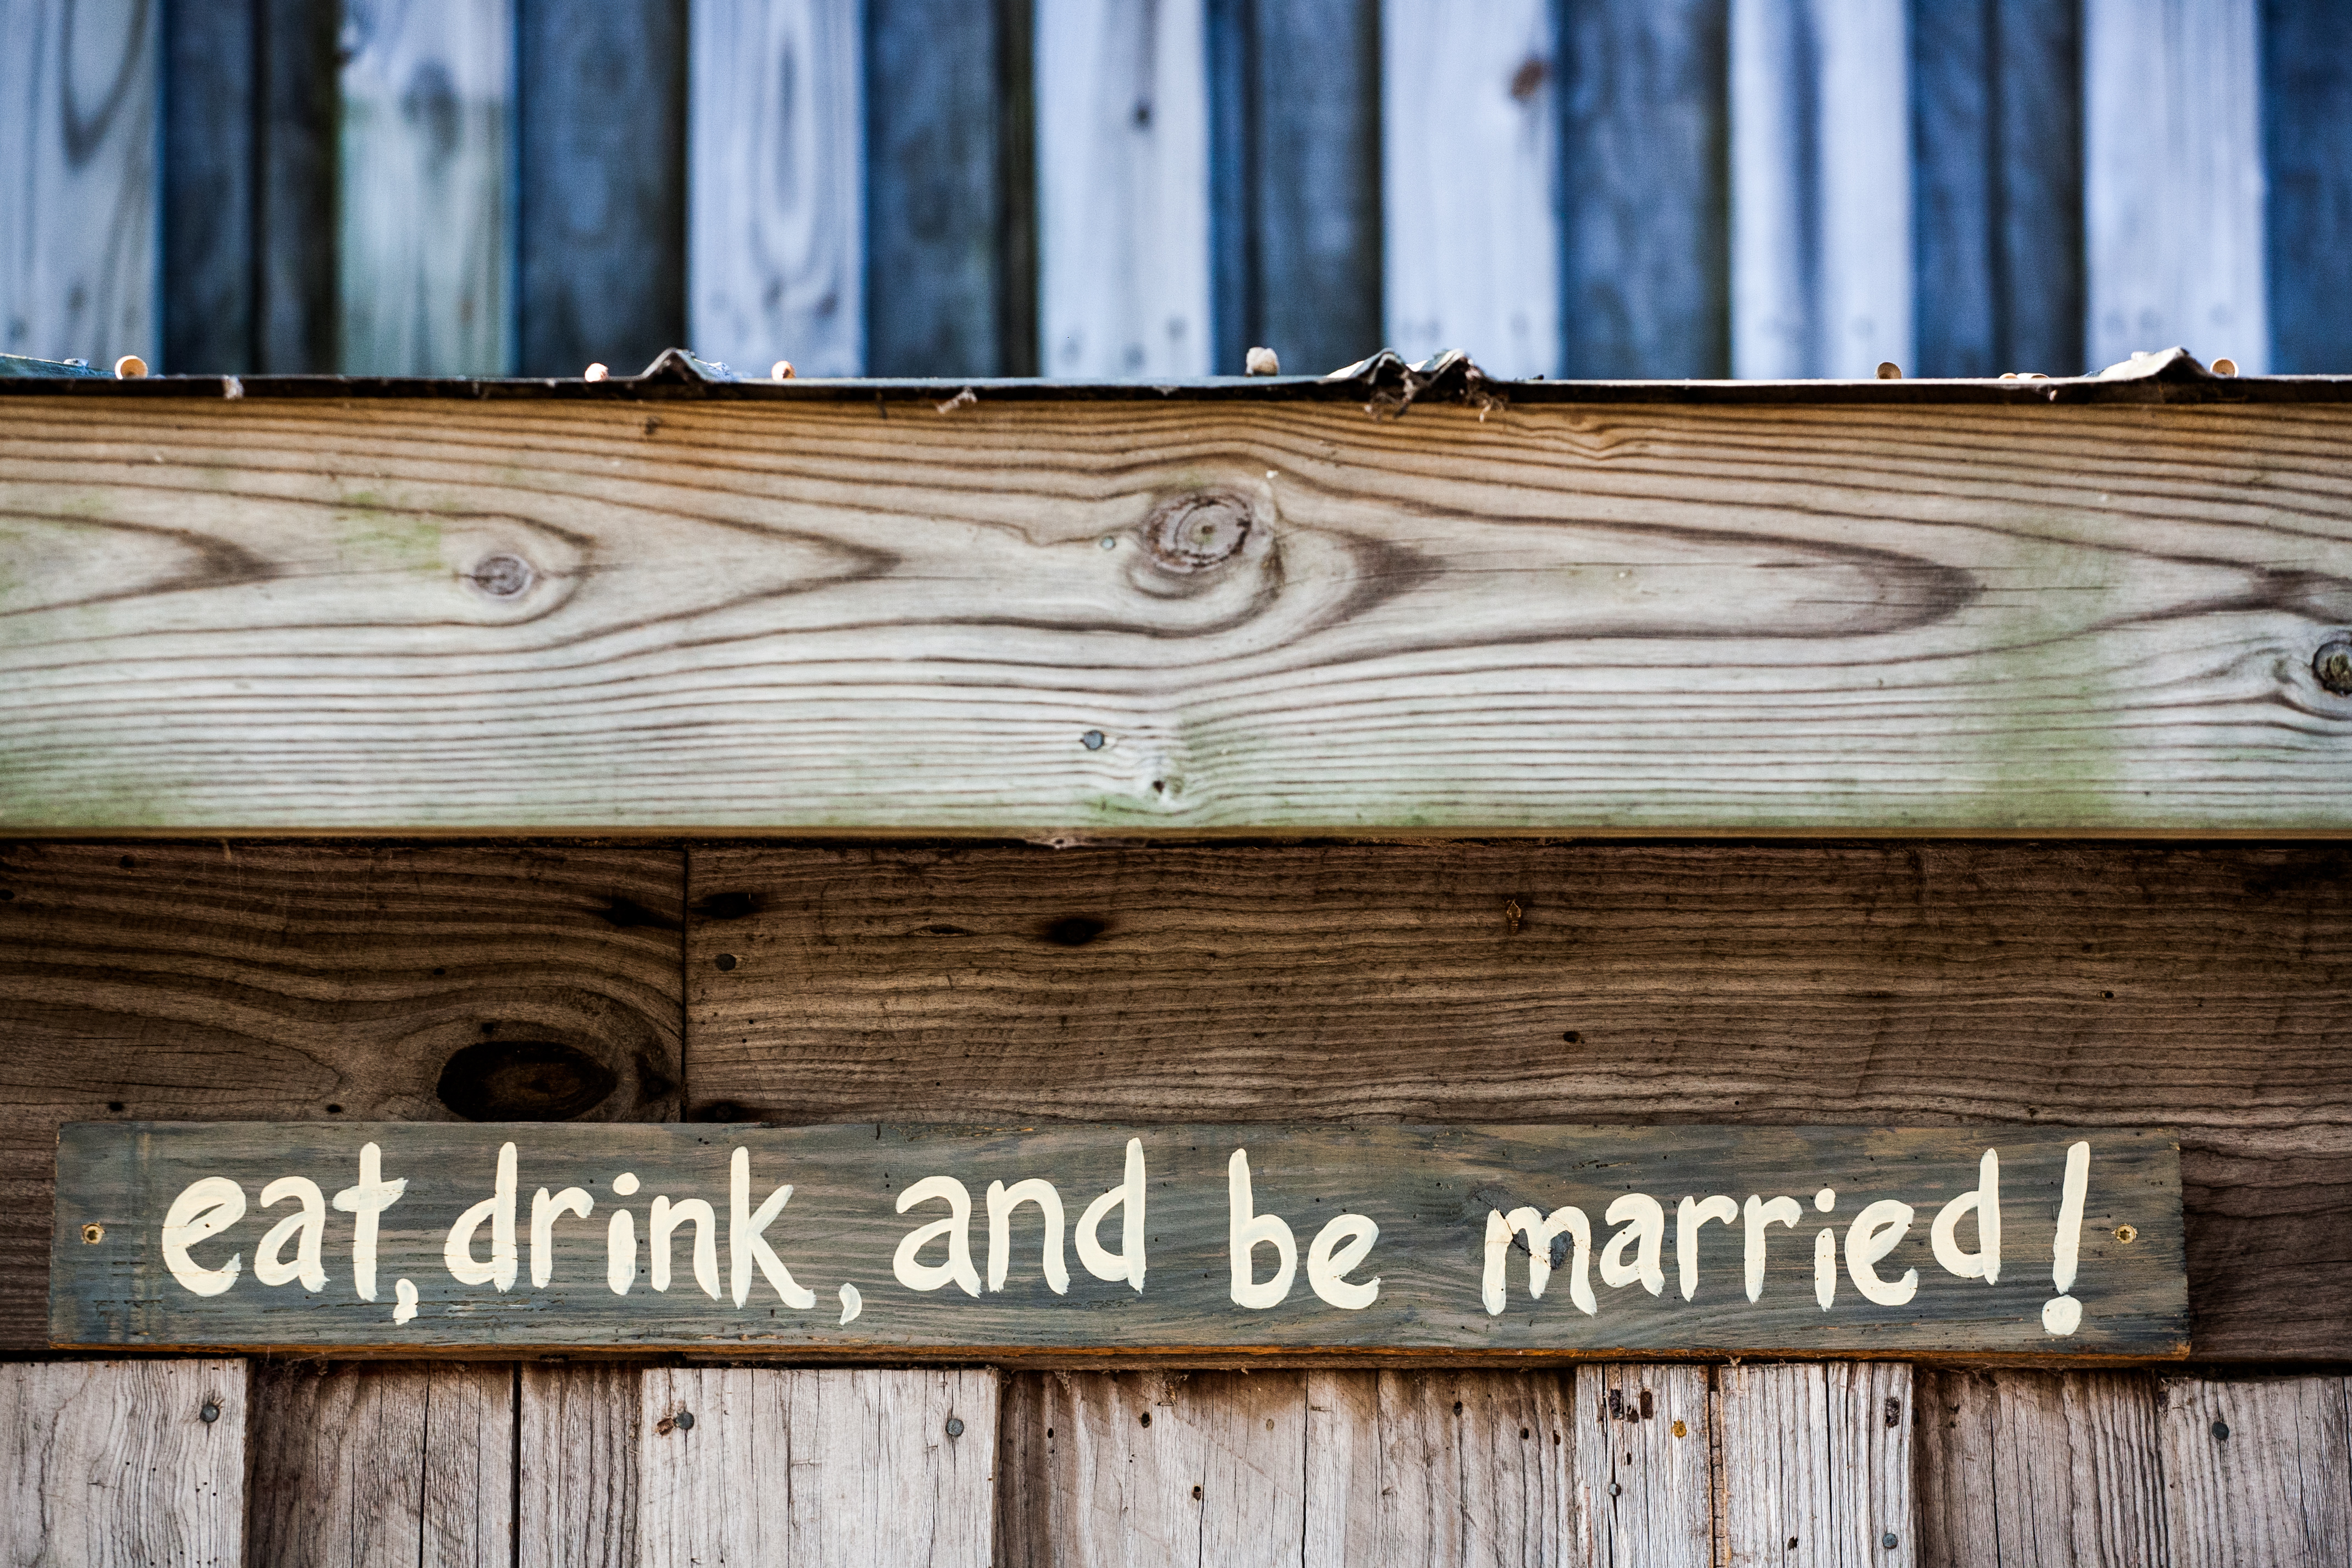
Sign above the bar

Sign for the reception area
We also made a sign out of an old window I picked up from the Habitat for Humanity ReStore for $5. I wrote the bar list on the panes with a white oil-based paint pen. A friend of mine (shout out to Jackie L. ;)) did this at her wedding, and I loved it, so I kind of copied the idea. Imitation is the highest form of flattery, right!? 🙂

I also found a thick piece of glass at the ReStore and did the same sort of thing for the reception menu board.

For additional small signs, I bought some cheap frames from the Dollar Tree and some black chalk paint. I painted the glass in the frames with the paint – it took two coats. Using the same oil-based paint pen, I wrote on them as well. I tried using real chalk, but it did not look good. The writing was way too light.

To make the favors, my mom and I went to Sam’s and stocked up on honey. We bought a bunch of small mason jars, some labels, and some quilting squares we found at a sewing shop that matched our wedding colors. The original idea was to tie the square around the top of the mason jar with the twine…but that didn’t work so well. They were popping off left and right.
We did NOT want to have to go back to the store at 10:00pm or whatever time it was. So, I randomly texted my neighbor “do you have like 80 rubber bands?” She didn’t respond….but she came over and said, “now why in the world would I have 80 rubber bands!?” and pulls out a ziploc bag with tons of small clear bands. She was our hero. If you try to do this, don’t forget the rubber bands or you’ll never succeed! 🙂
On the labels, I printed our birds (which I carried through on any paper products at the wedding), and “Thanks for coming, Honey” with our names and the date. Easy and again, pretty inexpensive but memorable.

Carrying the mason jar and wood theme along, my mom and I made a bunch of arrangements for the aisle. My step-father owns a tree trimming/removal company, so my parents have a lot of extra logs lying around. My brother chopped the logs so they were level and we used them for “tables” on which all the aisle arrangements would sit. (Mom and I also put these arrangements together the night before the wedding – we bought the flowers wholesale.)

My brother also cut us a cake stand 🙂 I found a lot of glittery leaf picks & pinecones that were originally Christmas decorations, and bought them at 90 percent off after the holiday to use for decorations around the reception tables, as well.

We bought all the flowers wholesale, and a friend of ours (Penny!) put the bouquets together.

I got this cute little dried corn cob basket at Goodwill for $3 for my niece, the flower girl.

In lieu of a guest book, we found a decorative bird cage in which people could slip notes to the bride and groom.

There are so many more hand-crafted personal touches that I could share with you, but I would keep you here reading for another hour. Bottom line is, yes, making your own decorations is time consuming, but it saves you money and makes your big day that much more meaningful. Whenever I think of our wedding, I think of how much fun I had planning and making things for it! And I got to do it with the love of my life (and my momma) – so we both remember all of the little things, down to the last sign. We couldn’t have imagined a better day. It fit us to the “T” because we made it fit! 🙂


Professional Photos Courtesy of Scott Henderson Photography
